How-To Guides
DC to DC Charger for RV: Turn Drive Time Into Real Battery Charge (2026)
Renogy, Victron and REDARC manuals verified · Smart alternator fixes · October 2026
Every mile you drive, your engine spins an alternator capable of serious power, and most RVs waste nearly all of it. A DC-DC charger, also called a battery-to-battery (B2B) charger, captures that alternator output and turns it into a proper multi-stage charge for your house batteries while you drive. It is also the fix for the two problems that killed the old relay-and-isolator era: smart alternators that refuse to hold charging voltage, and lithium batteries that can cook an alternator designed for lead-acid. This guide explains how these chargers work, how to size one from your driving habits, and how to wire it without creating a fire hazard. If you are still choosing batteries, read our RV battery system guide first.
Affiliate disclosure: RV Solar Power Guide is reader-supported. As an Amazon Associate, we earn from qualifying purchases: when you buy through links on this page, we may earn a commission at no extra cost to you. Our picks come from comparing verified specs and price. We don't accept payment for placement.
What it is
A battery-to-battery charger that converts alternator output into a stable multi-stage charge for house batteries while you drive.
Why isolators lost
Smart alternators dip to about 12.5V, and a diode isolator eats another 0.7V on top. Neither old method can finish a charge.
Sizing rule
Charge amps times driving hours equals amp-hours returned. Keep the draw under roughly half your alternator's rating.
Lithium note
A DC-DC charger current-limits the draw so lithium's sustained appetite cannot overheat your alternator.
DC to DC charger for RV guide
Safety: you will be working around high-current DC wiring where a short can melt wire insulation in seconds. Disconnect the batteries before touching any cable, fuse both ends of every run per your charger's manual, and never substitute a generic wire-size chart for the gauge your specific unit's manual specifies. If unsure, consult a certified RV technician.
What a DC-DC charger actually does
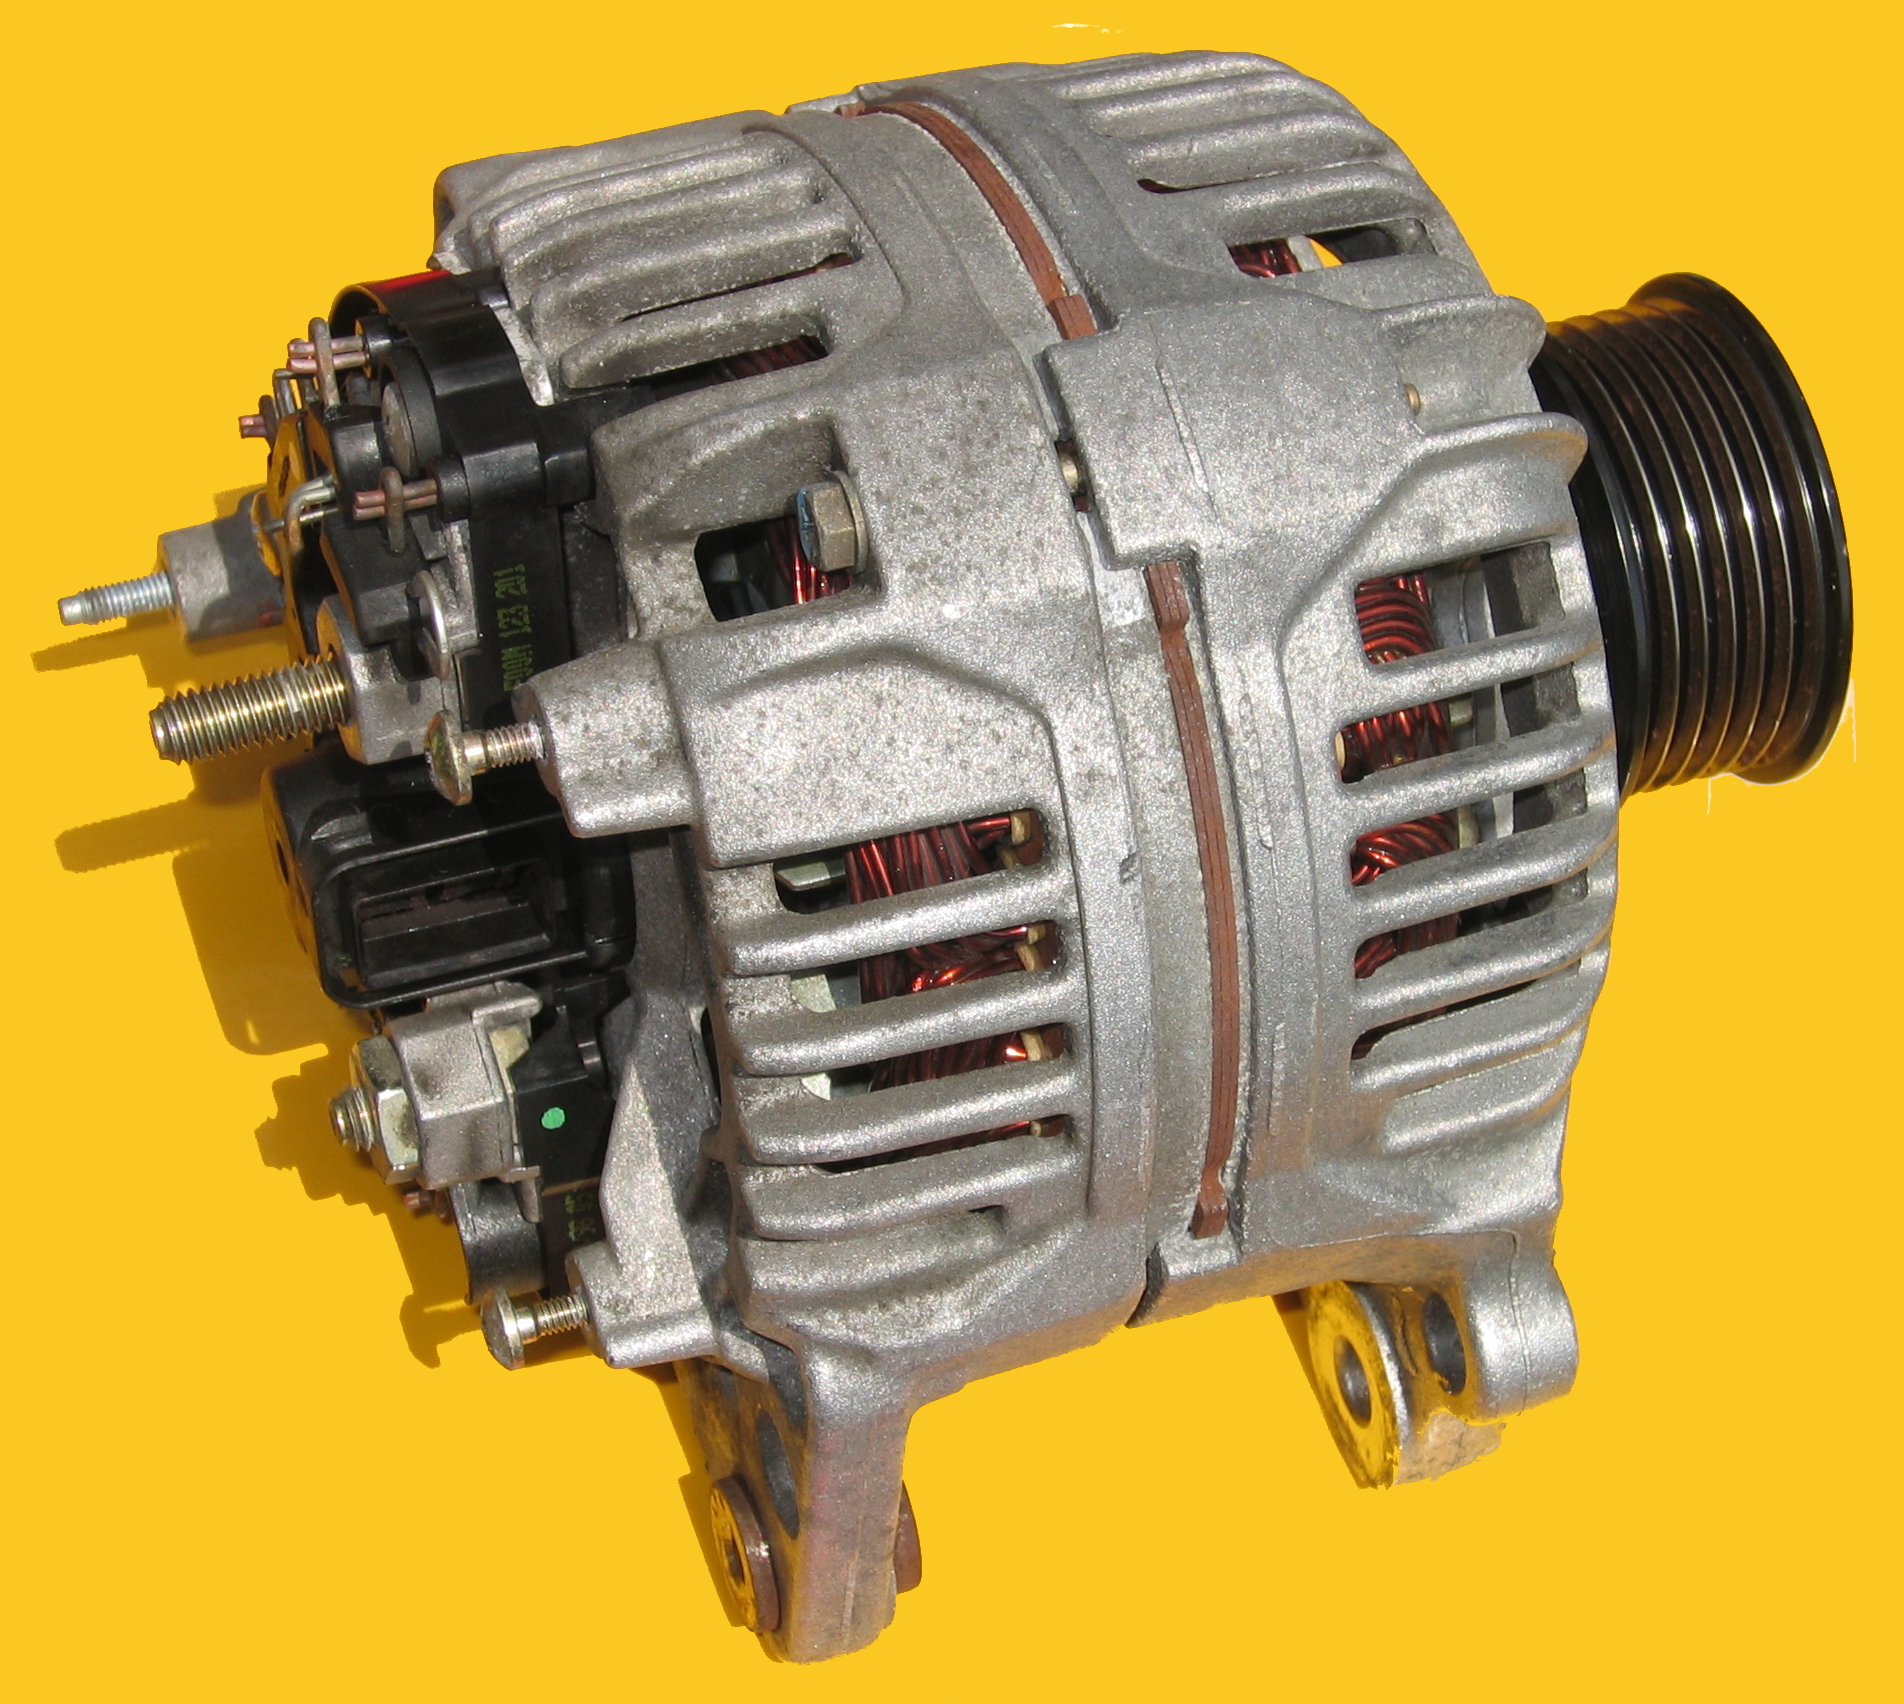
A DC-DC charger sits electrically between your starter battery and your house batteries. The alternator charges the starter battery exactly as the vehicle maker intended; the charger watches the starter side, and when the engine is running it draws power and delivers it to the house bank as a controlled, multi-stage charge: bulk, absorption, and float, matched to your battery chemistry. Think of it as a shore-power battery charger that runs off your engine instead of a pedestal.
That control is the whole point. A relay just connects the two banks together and hopes the alternator voltage is right. A DC-DC charger takes whatever the alternator gives, which on a modern vehicle swings around constantly, and outputs exactly what the house battery needs at its current state of charge. It also current-limits: a 30A charger pulls about 30A from the starter side no matter how hungry the house bank is, which is what keeps a big lithium bank from dragging your alternator past its thermal limits.
Common sizes for RV use run 20A to 60A. The charger only runs while the engine runs: an ignition (IGN/D+) trigger wire or engine-running detection keeps it off when parked, so it cannot drain your starter battery overnight. Several units also isolate the banks when the engine stops, so the house loads can never touch the starter battery.
Why isolators and relays are outdated
The old guard has two members, and both are compromised by modern vehicles and modern batteries.
Diode isolators split alternator output through one-way silicon diodes. They work, but every diode eats roughly 0.7V (per GlobalSpec's isolator guide), which turns into heat and permanently robs your batteries of charging voltage. On a 14.4V alternator your house bank sees about 13.7V, which is a float voltage, not a charging voltage. Your batteries never finish charging, and they sulfate and die young.
Voltage-sensitive relays (VSRs), also called smart relays or split-charge relays, connect the banks when starter-side voltage crosses a threshold. They have no voltage drop, but they have no charging intelligence either: they pass through whatever the alternator produces, with no absorption or float stage, so charging typically stalls around 80 percent of a true full charge. On smart alternators they are worse than useless, because the constantly swinging voltage makes the relay chatter on and off instead of charging.
Neither device can produce the absorption stage that gets a battery to 100 percent, and neither can current-limit for lithium. REDARC's own support guidance is blunt: with a variable voltage alternator, a smart battery isolator is unsuitable for charging auxiliary batteries, and a DC-DC charger is what gets them to 100 percent. If your rig still runs a diode isolator from the 2000s, upgrading to a DC-DC charger is one of the highest-value electrical improvements you can make.
The smart alternator problem
This is the section most existing articles gloss over, and it is the number one reason RVers install DC-DC chargers. Since Euro 5 and Euro 6 emissions rules, most vehicles built after about 2015 use ECU-controlled variable-voltage (smart) alternators. The engine computer varies alternator output for fuel economy: full voltage on overrun and deceleration, then backed off to barely above battery resting voltage at steady cruise.
Renogy's DCC50S manual puts numbers on it: a smart alternator reads closer to 12.5 to 13.5V, versus about 14.4V for a traditional fixed-voltage alternator. Independent testers report smart alternators sitting at 12.3 to 12.5V for long stretches with the engine running. At 12.5V, no relay-based setup charges anything: the split-charge relay simply drops out, which is why motorhome owners report arriving with a flat leisure battery and a defrosted fridge after a long motorway run. And a diode isolator stacked on that 12.5V subtracts its 0.7V, delivering under 12V to the house bank, which is not charging at all.
How to tell if you have one: look for a battery current sensor clamped to the negative battery terminal (the ECU needs it to vary output), check the build year (post-2015 makes it likely), or put a voltmeter on the battery with the engine running. A steady 14.2 to 14.4V means traditional; readings wandering around 12.5 to 13.5V mean smart.
A DC-DC charger is built for exactly this. It accepts the swinging input (the Renogy DCC50S takes 12 to 16VDC on smart alternators, the Victron Orion-Tr Smart takes 10 to 17V) and boosts or bucks it to a rock-steady charging voltage. One install detail matters: on smart alternators these chargers need an ignition trigger wire, because input voltage alone no longer reliably signals that the engine is running. Renogy includes the IGN signal wire in the box and requires it for smart-alternator installs.
Sizing: how many amps you need
Sizing a DC-DC charger is refreshingly simple math. The charger delivers its rated current for as long as you drive:
- 30A charger, 4 hours of driving: about 120Ah returned to a 12V bank (roughly 1.5kWh at lithium nominal voltage), minus small conversion losses.
- 50A charger, 3 hours of driving: about 150Ah, enough to meaningfully refill a 200 to 300Ah house bank.
Work backward from your routine. If you typically drive two hours between camps and your overnight deficit is 60Ah, a 30A charger covers it with margin. If you are a weekend warrior who drives 45 minutes to the lake, even a 50A charger only returns about 37Ah, so size your battery bank and solar for the parked days instead. Our solar sizing guide walks through the deficit math the same way.
The alternator headroom rule. Your charger draws from the alternator through the starter battery, and the alternator still has a vehicle to run. The working rule of thumb, stated by REDARC support and echoed by several specialty retailers, is to keep the charger's draw under roughly 50 percent of the alternator's rated output. A 130A alternator therefore pairs comfortably with up to a 50 to 60A charger class; a 90A alternator should stay around 40A. This is a rule of thumb, not a manufacturer spec, so treat it as a ceiling and check your alternator's rating on its label. Class A motorhomes with big 200A+ alternators have headroom to spare; a small van with a 90A unit does not.
Common pairings: 20 to 25A for small vans and weekend campers, 30 to 40A for mid-size travel trailers and Class Cs, 50 to 60A for large fifth wheels and motorhomes with 300Ah+ banks. When in doubt, the smaller charger that matches your real driving hours beats the bigger one that starves your alternator.
Lithium batteries change the rules
If you have upgraded, or plan to upgrade, to LiFePO4 house batteries, a DC-DC charger moves from nice-to-have to essential. The reason is current acceptance. A lead-acid battery naturally tapers its charge current as it fills, which gives the alternator a break. A lithium bank holds near-maximum acceptance almost to full, so a direct alternator connection can pin the alternator at maximum output for hours. Battle Born Batteries, a lithium manufacturer, warns explicitly that this sustained load can overheat or damage an alternator designed around a lead-acid starter battery, and recommends a DC-DC charger (or equivalent current control) for exactly this reason.
The charger solves both halves of the lithium problem. First, current limiting: the house bank gets the charger's rated current and not one amp more, so the alternator works a known, bounded load. Second, the charge profile: lithium wants roughly 14.4 to 14.6V absorption with no float stage (the Renogy DCC50S lithium profile boosts at 14.4V with no float; the REDARC BCDC1225D lithium profile peaks at 14.5V with no float), which a fixed-voltage alternator cannot deliver on its own.
There is a third, subtler benefit around the BMS. A drop-in lithium battery's internal BMS can disconnect the battery without warning on cell over-voltage, under-voltage, temperature, or current-limit events, and that sudden load dump can spike voltage and damage charging equipment. With a DC-DC charger in the circuit, the alternator never connects to the lithium bank directly: it charges the starter battery as designed, and the charger bridges to the house side. A house-side BMS disconnect then just stops the charger's draw instead of yanking the load off a spinning alternator.
One hard limit: never charge LiFePO4 below freezing. REDARC specifies its lithium profile for 0C to 80C (32F to 176F) for a reason; charging a frozen lithium battery plates metallic lithium onto the anode and permanently damages it. If you camp in winter, your batteries need to live somewhere heated, or you need low-temperature charge protection.
What to look for: three proven classes
This is not a ranked roundup, because the right unit depends on your alternator type, battery chemistry, and whether you want solar in the same box. The market has settled into three well-documented classes, with specs verified from manufacturer manuals:
| Class (example) | Charge current | Solar input | Lithium profile | Standout trait |
|---|---|---|---|---|
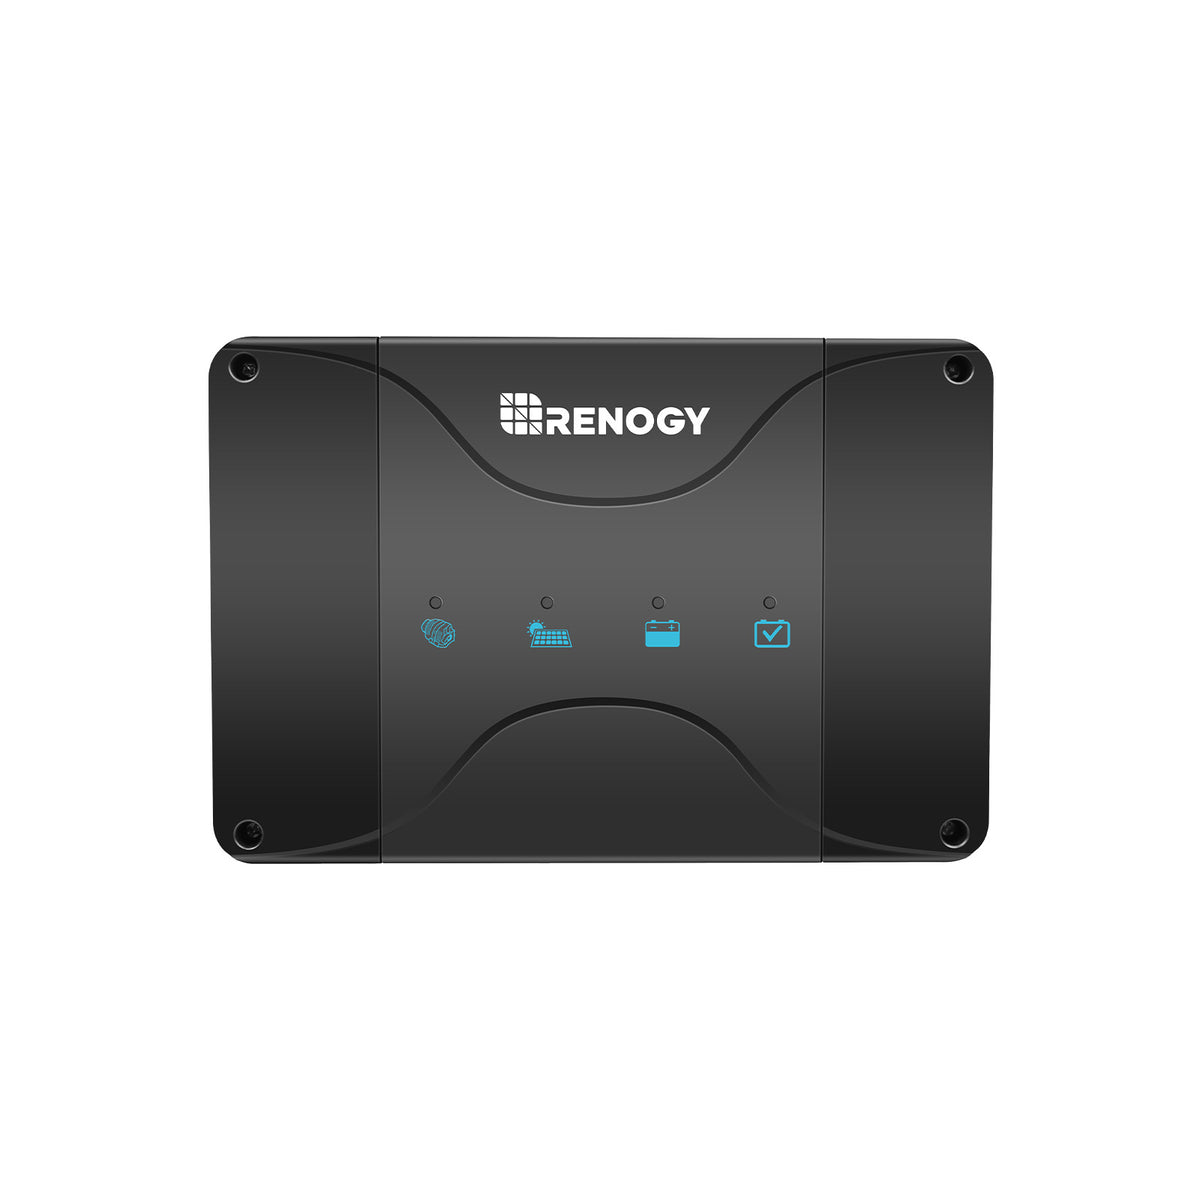
| Dual-input with MPPT (Renogy DCC50S) | 50A max | Yes, up to 660W (50V max on current revision) | 14.4V boost, no float | Alternator + solar in one box, simultaneous inputs |
| Bluetooth-programmable (Victron Orion-Tr Smart 12/12-30) | 30A continuous at 40C (360W) | No (alternator only) | Adaptive 3-stage, 8 presets via app | Full programmability + live monitoring in VictronConnect |
| Rugged dual-input (REDARC BCDC1225D) | 25A continuous (375W) | Yes, 9-32V unregulated solar input | 14.5V max, no float | 9-32V input range, rated to 80C ambient |
A few notes on reading that table honestly. The Renogy's 50A is the combined maximum across both inputs, and its manual gives the wiring numbers you will actually install to: a 75A fuse on the vehicle input, a 65A fuse on the charger output, 6 AWG for 3 to 16 foot runs and 4 AWG for 16 to 30 foot runs. (Renogy's current web page lists a broader 75 to 100A fuse range for a newer revision; follow the manual that ships with your unit.) The REDARC's 40A input fuse rating comes straight from its installation guide. The Victron's 30A is continuous at 40C ambient with a 40A ten-second peak, and its screw terminals accept up to 16 sq mm (AWG 6).
Match the class to the job: the dual-input units make sense when you want one box handling both alternator and roof solar (see our solar charge controller guide for the MPPT side of that equation); the Bluetooth-programmable class suits tinkerers who want to see live charge current and fine-tune profiles; the rugged class suits engine bays and hot climates. All three handle smart alternators and all three speak lithium.
Installation essentials
The mechanical work is straightforward; the electrical details are where installs go wrong. These are the non-negotiables, with the numbers taken from manufacturer manuals:
- Fuse both ends, per your manual. The Renogy 50A manual specifies 75A on the vehicle input and 65A on the charger output; the REDARC 25A guide specifies a 40A vehicle input fuse. Fuses protect the wire, so size them to the wire and the manual, whichever is more conservative, and mount them close to each battery.
- Wire gauge follows length, not vibes. Renogy's manual calls for 6 AWG on 3 to 16 foot runs and 4 AWG on 16 to 30 foot runs for its 50A unit. Long runs at high current drop real voltage as heat; never substitute a generic internet chart for your charger's manual.
- Wire the ignition trigger on smart alternators.Without the IGN/D+ signal the charger cannot reliably tell engine-running from engine-off when alternator voltage floats around. Renogy includes the trigger wire and requires it for smart-alternator installs.
- Mount it cool and ventilated. These units shed heat while boosting voltage. A ventilated compartment beats a hot engine bay; the REDARC is rated to 80C ambient, which tells you how seriously heat is taken in this product class.
- Ground it properly. A common, solid chassis ground on the negative side; a corroded or undersized ground shows up as mysterious undercharging.
Trailer owners, read this: installing a DC-DC charger on a towable means running heavy-gauge wire the full length of the tow vehicle to a high-current connector at the hitch, because the factory 7-pin charge line is thin wire that delivers only a trickle. It is a bigger job than on a motorhome, where the alternator and house bank live in the same vehicle. Budget for the wire run, not just the charger.
Mistakes that kill chargers and alternators
- No fuse, or a fuse sized by guesswork. An unfused 4 AWG run to the starter battery is a fire waiting for a chafed wire. Fuse at the battery end, sized per the manual.
- Undersized wire on a long run. Voltage drop turns into heat in the wire and starves the charger input, which then works harder. Follow the manual's gauge-by-length table.
- Skipping the ignition trigger on a smart alternator. The charger may never wake up, or may stay awake with the engine off. Either way you get no charge or a dead starter battery.
- Oversizing the charger for a small alternator.A 60A charger on a 90A alternator that also runs the vehicle's loads, lights, and air conditioning is asking for a cooked alternator. Respect the roughly-half rule from the sizing section.
- Expecting it to replace solar. It charges while you drive and does nothing at camp. Parked for three days, you need panels, a generator, or shore power.
- Charging lithium below freezing. Covered above; it destroys cells silently.
Who does not need one
Not everyone needs to buy one. If you are always on shore power at full-hookup campgrounds, your converter already handles charging. If your house bank is small, your drives are short, and your roof solar already returns you to full by noon, the charger adds little. And if your tow vehicle's factory 7-pin trickle already keeps up with your modest loads, the heavy-gauge wire run a proper DC-DC install demands may not pay back. The buyers who benefit most: boondockers who drive daily, van lifers with smart alternators, and anyone running lithium house batteries charged from the engine.
If drive-time charging is your missing piece, size it from your real driving hours, wire it to the manual, and verify it is charging with a battery monitor on your first trip. The alternator is already spinning; you might as well bank the energy.
Frequently asked questions
What is a DC-DC charger and why do I need one for my RV?
A DC-DC charger, also called a battery-to-battery (B2B) charger, sits between your starter battery and your RV house batteries. It takes the alternator's variable output and converts it into a stable, multi-stage charge (bulk, absorption, float) matched to your battery chemistry. You need one because a simple relay or isolator cannot finish a charge on modern smart alternators, and it cannot give lithium batteries the current-limited, properly profiled charge they require.
Can I use a DC-DC charger with an older, traditional alternator?
Yes. DC-DC chargers work with both traditional fixed-voltage alternators (typically around 14.4V) and modern smart alternators. With a traditional alternator the benefit is the multi-stage charging profile and current limiting, which gets your house batteries to a true 100 percent instead of stalling around 80 percent the way a relay does. Renogy's DCC50S manual lists a traditional-alternator input range of 13.2 to 16VDC.
How do I know if my vehicle has a smart alternator?
Three tells: a battery current sensor on the negative battery terminal (the ECU uses it to vary alternator output), a vehicle built after about 2015 when Euro 5 and Euro 6 rules pushed variable-voltage charging mainstream, and a voltmeter reading of roughly 12.5 to 13.5V at the battery with the engine running instead of the classic 14.4V. If you see the low reading, you have a smart alternator and a relay-based split-charge setup will not charge your house batteries properly.
Will a DC-DC charger drain my starter battery?
No, when installed correctly. DC-DC chargers only draw from the starter side when the engine is running: they use an ignition (IGN/D+) trigger wire or engine-running detection, and they cut off below a set input voltage so a parked vehicle cannot drain the starter battery. Units with a built-in voltage-sensitive relay, like the Renogy DCC50S, also isolate the two banks when the engine is off, and some even trickle-charge the starter battery from solar once the house bank is full.
How many amps should my RV DC-DC charger be?
Size it to your daily driving deficit: charge current times driving hours equals amp-hours returned. A 30A charger running 4 hours returns about 120Ah to a 12V bank. As a rule of thumb echoed by REDARC support and several retailers, keep the charger's draw under roughly 50 percent of your alternator's rated output, so a 130A alternator pairs comfortably with up to a 50 to 60A charger class. Check your alternator's rating on its label before choosing.
Can one DC-DC charger charge two separate battery banks?
A single-output DC-DC charger charges one house bank; batteries wired in parallel count as one bank and are fine. If you have two genuinely separate banks (for example, a 12V house bank and a second bank for a different voltage), you need either a dual-output charger or a second unit. Do not split one charger's output across banks at different states of charge and expect a correct charge profile on both.
How do I know the charger is actually working while I drive?
Check three things: the charger's status LEDs (most units show input-active and charge-stage indicators), a battery monitor on the house bank showing positive charge current while the engine runs, and rising house-battery voltage toward the absorption setpoint (around 14.4V for lithium profiles). Bluetooth-equipped units like the Victron Orion-Tr Smart show live input and output current in the VictronConnect app, which is the clearest confirmation.
Is a DC-DC charger safe for lithium (LiFePO4) RV batteries?
It is the recommended way to charge lithium from an alternator. Lithium batteries accept high current for a long time, which can overheat an alternator that was designed for a lead-acid starter battery's tapering draw; the DC-DC charger current-limits the draw to protect the alternator. It also applies a lithium-specific profile (for example, 14.4V boost with no float on the Renogy DCC50S, 14.5V max on the REDARC BCDC1225D). One hard limit: do not charge LiFePO4 below freezing (0C / 32F); REDARC's lithium profile is specified for 0C to 80C.
Can I install a DC-DC charger myself?
A confident DIYer can handle the mechanical side: mounting the unit, running the specified wire gauge, and landing terminals. The parts that deserve respect are fuse sizing, wire gauge for your run length, and the ignition-trigger wiring on smart alternators, all of which must follow your specific charger's manual, not a generic chart. If any of that is unfamiliar, or your rig has a smart alternator with start-stop, have a certified RV technician or auto electrician do the install.
Do I still need solar panels if I install a DC-DC charger?
If you drive most days, a DC-DC charger can carry a surprising share of the load: a 40A charger adds roughly 40Ah per driving hour to a 12V bank. But it produces nothing when parked, which is exactly when solar earns its keep at camp. Most boondockers run both, and dual-input chargers like the Renogy DCC50S accept solar and alternator input into one unit, so the two sources complement rather than duplicate each other. Our solar sizing guide walks through the math.