How-To Guides
RV Solar Charge Controller Guide: MPPT vs PWM, Sizing & Installation (2026)
Sizing math with worked examples · Manufacturer specs from Victron, Renogy, Go Power!, EPEver · October 2026
The charge controller is the most misunderstood part of an RV solar setup. It sits between your panels and batteries, decides how fast they charge, and protects them from overcharge. Pick the wrong type or size and you either waste panel output or risk equipment damage. This guide explains what MPPT and PWM actually do differently, sizes a controller for the three most common RV arrays (200W, 400W, 600W) with real math, covers lithium settings, and walks through installation order and troubleshooting. For the wiring itself, see our RV solar wiring diagram guide.
Affiliate disclosure: RV Solar Power Guide is reader-supported. When you buy through links on this page, we may earn a commission at no extra cost to you. Our picks come from comparing verified specs and price. We don't accept payment for placement.
What it does
Regulates power from panels to batteries: prevents overcharge, optimizes harvest. Every RV solar setup needs one.
MPPT vs PWM
MPPT converts excess panel voltage into extra current (15-30% more harvest per manufacturers). PWM is cheaper and fine under ~150W.
Sizing rule
Array watts ÷ battery volts × 1.25, then check panel Voc × 1.15 stays under the controller's max PV voltage.
Connection order
Battery first, verify voltage, panels last. Reverse when disconnecting.
RV solar charge controller guide
What a charge controller actually does
A solar panel in full sun produces whatever voltage its cells generate, typically 18 to 22 volts from a nominal 12V panel, and that voltage swings with sunlight and temperature. A battery needs carefully controlled charging voltages. Connect a panel straight to a battery and you get overcharging, gassing, and early battery death.
The charge controller does three jobs. Regulate: it holds charging voltage at the right level for each charge stage (bulk, absorption, float). Protect: it prevents overcharge, and most units add reverse-polarity, short-circuit, and over-temperature protection. Optimize: an MPPT controller additionally squeezes the maximum available power from the panels instead of throwing part of it away. Every RV solar installation needs one, no matter how small. If unsure about any electrical work, consult a certified RV technician.
MPPT vs PWM: how they really differ
PWM (Pulse Width Modulation) is the simpler, older technology. It connects the panel to the battery and rapidly switches the connection on and off to hold the right average voltage. The catch: the panel is forced to operate at battery voltage, around 12 to 14 volts, even though the panel could produce 18 to 22 volts. Everything above battery voltage is simply wasted as heat. Typical efficiency: 75 to 80 percent.
MPPT (Maximum Power Point Tracking) is a DC-DC converter with a brain. It continuously tracks the panel's maximum power point and converts the excess voltage into additional charging current. A panel making 18V at 5.5A (100W) feeding a 12V battery becomes roughly 14V at 7A through an MPPT controller: same watts in, more amps out. Typical efficiency: 94 to 98 percent.
How much more energy does that buy? Manufacturer-published figures: Victron claims up to 30 percent more than PWM for its SmartSolar line; Go Power!'s manuals claim about 15 to 20 percent for its 60A MPPT and up to 30 percent for its 30A MPPT model versus traditional PWM. Real-world gains depend on conditions: MPPT shines most in cold weather (panels make higher voltage when cold) and with higher-voltage panels, and gains shrink on hot days with voltage-matched 12V panels.
When PWM still makes sense
MPPT is not automatically the answer. PWM wins in three honest cases.
- Small systems under about 150W. A single 100W panel keeping a battery topped in storage does not generate enough extra energy through MPPT to justify double the controller cost.
- Voltage-matched panels. If your panels are nominal 12V (Vmp around 17 to 18V) on a 12V battery, there is little excess voltage for MPPT to convert, so the gain is small.
- Tight budgets on simple setups. A quality 30A PWM controller from Go Power! or Renogy costs far less than an equivalent MPPT and is perfectly reliable for basic charging.
For anything over about 200W, lithium batteries, cold climates, or higher-voltage panels, MPPT pays for itself quickly.
Sizing your controller in 3 steps
Step 1: current. Divide array watts by battery voltage (at 12V nominal), then multiply by 1.25. That 25 percent is a safety margin aligned with electrical code practice for continuous loads; it is a design margin, not a law of physics.
Step 2: voltage. Add up your panel string's open-circuit voltage (Voc), multiply by 1.15 for cold-weather voltage rise, and confirm the result stays under the controller's maximum PV voltage (commonly 100V). Exceeding this limit can destroy the controller instantly, so this check is non-negotiable.
Step 3: pick the next standard size up. Controllers come in standard ratings (10A, 20A, 30A, 40A, 50A, 60A). Round your Step 1 result up, leaving room for one or two future panels if you plan to expand.
Worked examples (12V battery bank):
- 200W array: 200 / 12 = 16.7A × 1.25 = 20.8A, so a 30A controller. Two 100W panels in series: Voc about 44V × 1.15 = 51V, well under 100V.
- 400W array: 400 / 12 = 33.3A × 1.25 = 41.7A, so a 40A or 50A controller. Four 100W panels in 2-series 2-parallel: Voc about 44V × 1.15 = 51V, fine on a 100V controller.
- 600W array: 600 / 12 = 50A × 1.25 = 62.5A, so a 60A or 80A controller. This is where many RVers either step up to a 60A unit or split into two 40A controllers.
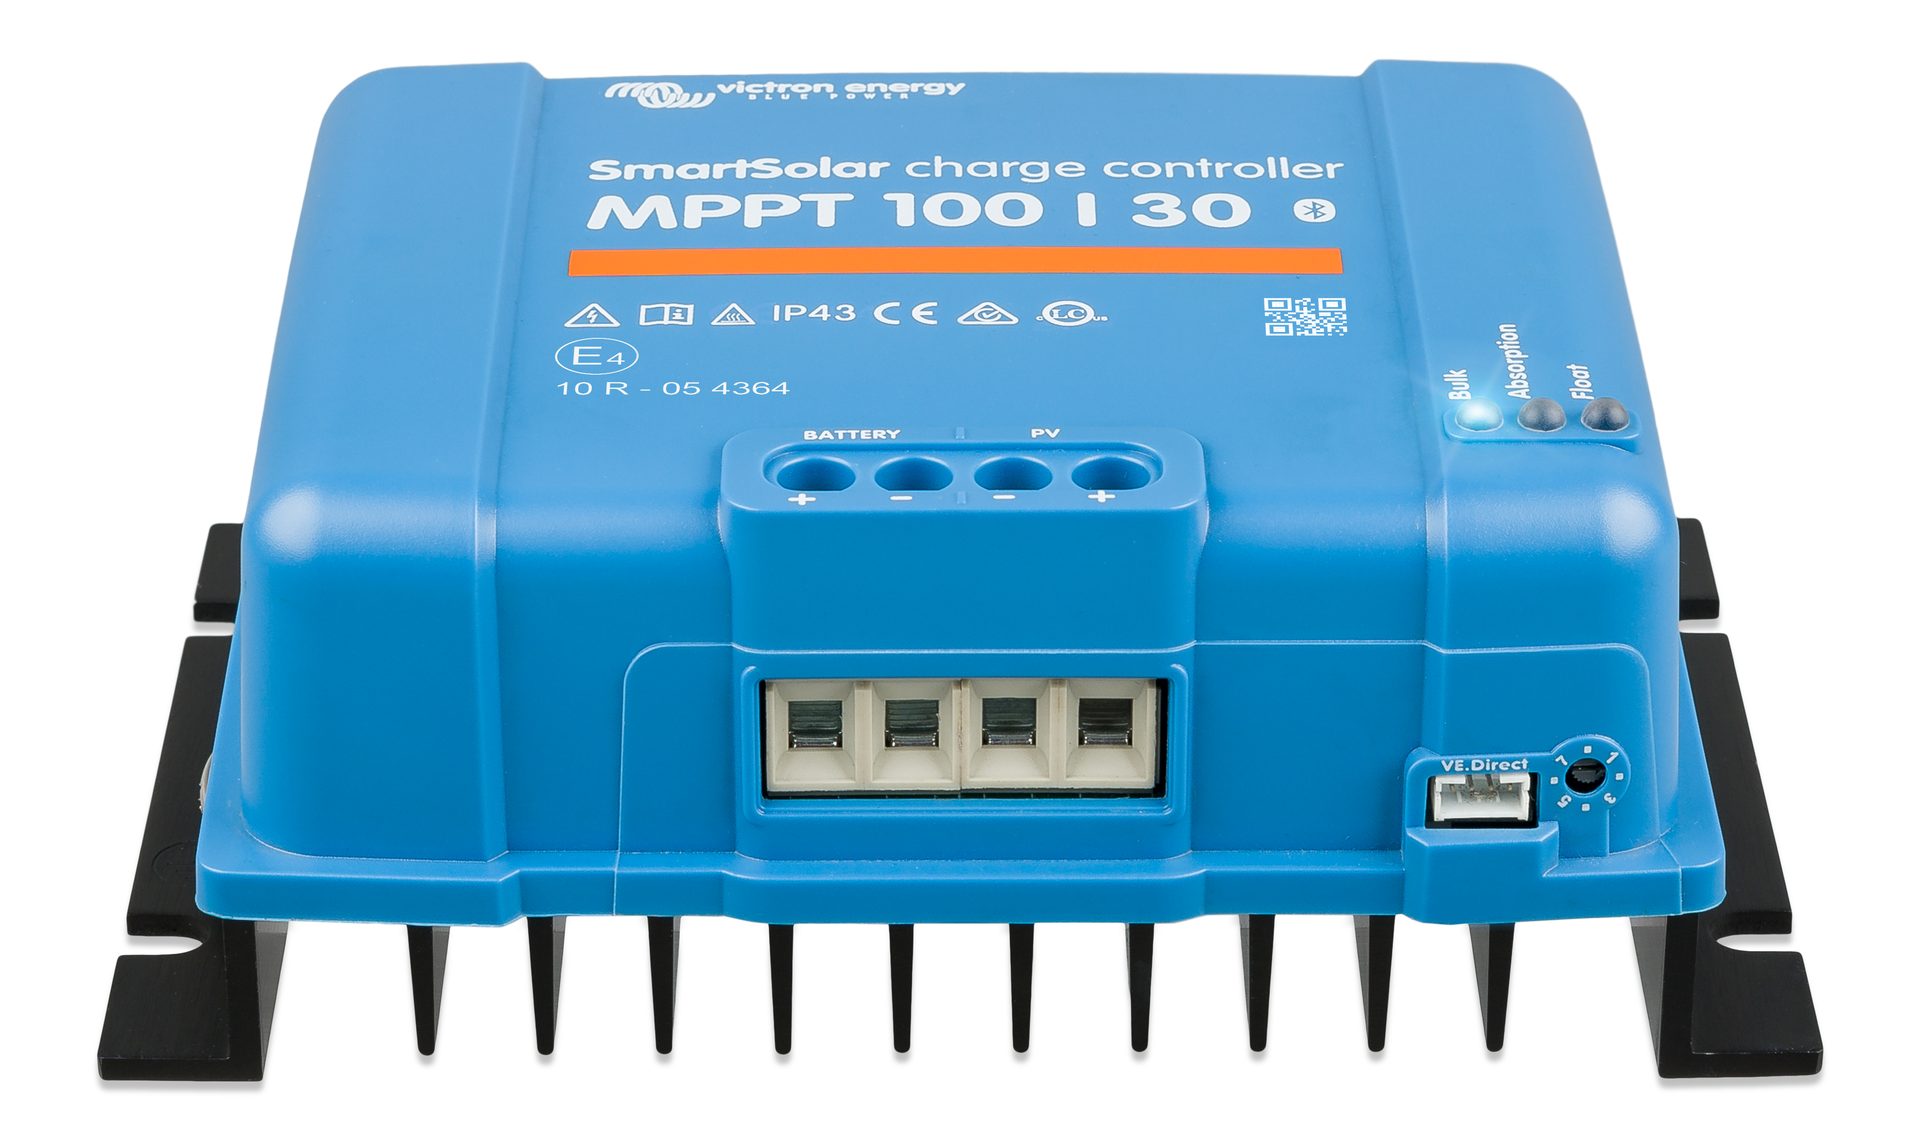
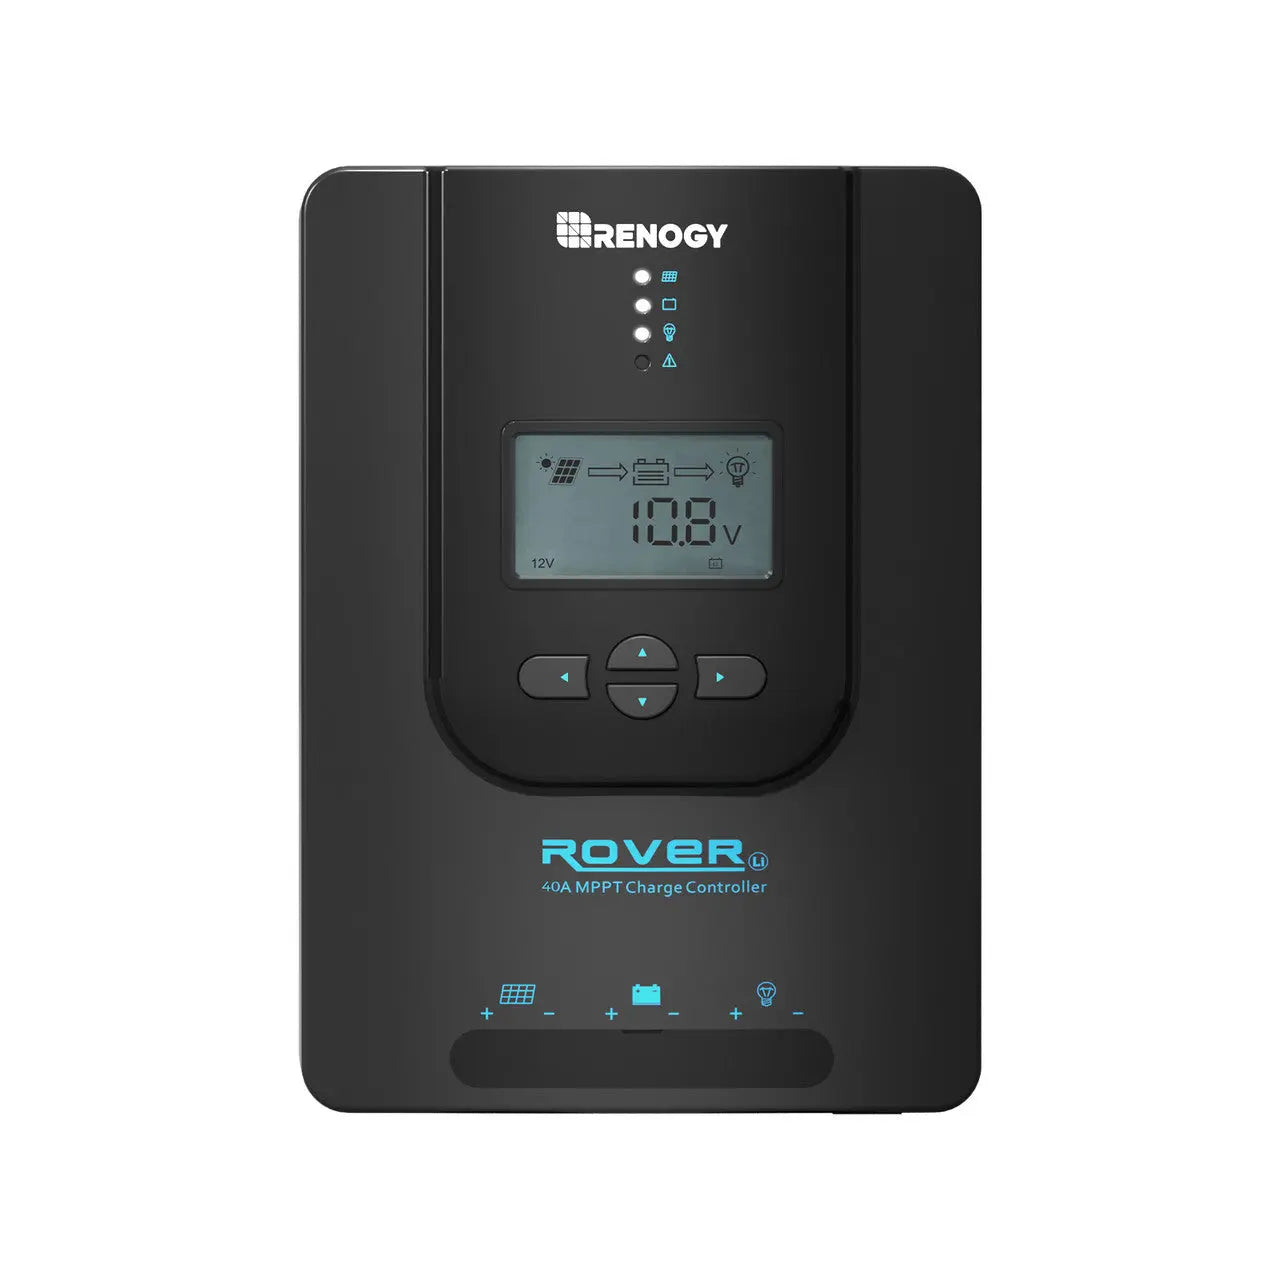
Cross-check against manufacturer ratings: a Victron SmartSolar 100/30 is rated 440W at 12V, a Renogy Rover Li 40A is rated 520W at 12V, and an EPEver Tracer 4210AN (40A) is rated 520W at 12V. The formula and the nameplate ratings agree.
The voltage limit most people miss
Beginners size by amps and forget volts. Panel Voc rises as temperature falls, roughly 0.3 percent per degree Celsius below the 25°C rating point. On a freezing morning, a panel string can sit 15 percent above its label Voc. That is why Step 2 multiplies by 1.15.
The trap: two 200W panels with 24V Voc each in series give 48V nominal, fine on paper, but 48 × 1.15 = 55V still fine. The danger starts with three or four high-voltage panels in series on a 100V controller, or any series string in genuinely cold climates. EPEver's own manual illustrates the nuance: the Tracer 4210AN allows 100V Voc at minimum operating temperature but only 92V at 25°C. When in doubt, wire in parallel or choose a 150V controller.
One more comfort: MPPT controllers are current-limited. If your array can briefly exceed the controller's amp rating, quality units clip the output to their rated current instead of overloading (Go Power! calls this current-limited charging mode; EPEver caps its 40A model at a recommended 780W array on 12V). Modest array oversizing is tolerated. Voltage oversizing is not.
12V vs 24V battery banks: what changes
Almost every RV is 12V native: lights, fans, water pump, and furnace all run on 12V. So most RV solar stays 12V, and the sizing math above assumes it.
A 24V battery bank halves the controller current for the same array: 600W / 24V = 25A × 1.25 = 31.3A, so a 40A controller handles what needed 60A+ on 12V. The tradeoff: you need a 24V-to-12V converter to run the RV's native 12V loads, adding cost and a small efficiency loss. For most RVers under about 800W of solar, staying 12V is simpler. Consider 24V only for large arrays where controller and wire savings outweigh the converter hassle.
Setting up for lithium (LiFePO4)
Lithium batteries need their own charge profile. Never run LiFePO4 on a lead-acid profile with equalization enabled; equalization voltages can damage lithium cells and trip the BMS.
- Select the lithium profile. On the Renogy Rover Li, lithium is a manual setting (not auto-detected). On Victron, choose the LiFePO4 preset in VictronConnect. On Go Power!, select the LFP profile.
- Typical voltages (12V bank): 14.4V absorption, 14.0V float, per Go Power!'s published LiFePO4 profile. Confirm against your battery maker's spec sheet; some brands specify 14.6V absorption.
- No temperature compensation, no equalization for lithium. Quality controllers disable both automatically in lithium mode (Renogy sets temp comp to zero; EPEver does the same).
- Two-stage charging (bulk + absorption) is normal for lithium, versus three-stage for lead-acid. Do not mistake the missing float stage for a fault.
- Cold charging: most LiFePO4 batteries must not charge below freezing. Some controllers (Renogy Rover Li, Go Power! RVC-30) can wake an over-discharged lithium battery, but low-temperature charge protection lives in the battery's BMS, not the controller. Heated batteries or a warm compartment solve this.
Where to mount it in your RV
Close to the batteries. Every foot of wire between controller and battery adds voltage drop on the highest-current run in the system. Mount the controller in the same compartment as the batteries, or as close as wiring allows.
Ventilated and vertical. Controllers shed heat through their case; Victron specifies vertical mounting on a non-flammable surface with clearance for airflow. Avoid sealed compartments that bake in summer, and keep it out of direct sunlight.
Dry and accessible. IP ratings tell the story: Victron SmartSolar is IP43 on electronics (splash-resistant, not waterproof), Renogy Rover Li is IP32, EPEver Tracer AN is IP30. None belong in a wet bay. Mount where you can see the display or reach it for Bluetooth pairing without disassembling furniture.
Installation: connection order
Every major manufacturer specifies the same order, and getting it wrong is the most common installation mistake:
- Battery first. Connect the battery cables to the controller, with a fuse on the positive wire near the battery. Wait about 10 seconds for auto voltage detection (Victron's manual specifies this pause).
- Verify voltage. Check the controller display or app shows the correct system voltage (12V vs 24V) before going further.
- Panels last. Connect the PV array, fused per the manual, after the battery side is live and verified.
Disconnect in reverse: panels off first, battery last. Victron warns that wrong order can disable or damage the charger. For fuse sizing, wire gauge, and the full wiring chain, see our RV solar wiring diagram guide. If unsure, consult a certified RV technician.
Monitoring apps and displays
Modern controllers report everything worth knowing. VictronConnect (Bluetooth, free) shows live PV watts, battery voltage and current, charge stage, and 46 days of stored trends. Renogy's DC Home app pairs with the Rover Li series for the same basics plus load control. EPEver uses the MT50 wired display or an RS485 Bluetooth adapter.
Check three things routinely: daily yield in watt-hours (declining trend means soiling, shade, or a problem), battery voltage at rest (tells you state of charge at a glance), and charge stage (a healthy system should reach absorption most sunny days). Our panel cleaning guide covers what to do when yield drops from dirt.
Troubleshooting
Not charging at all: confirm battery was connected first (reversed order confuses voltage detection), check fuses on both battery and PV sides, verify the correct battery profile is selected, and measure panel Voc at the controller's PV terminals in sunlight. No voltage there means a wiring or panel issue upstream.
Charging but output seems low: look for shade first, even partial shade on one panel of a series string. Then check that array Voc has not crept near the controller's limit in cold weather, which forces clipping. Compare against the panel's rated output in similar sun from your monitoring history.
Controller very hot or shutting down: improve ventilation around the unit, confirm the array does not greatly exceed its rating, and check that wire terminals are tight (loose terminals create resistance heat). Controllers derate output above about 40°C ambient by design.
Wrong voltage detected (12V vs 24V): disconnect PV, disconnect battery, wait a minute, reconnect battery first and verify in the app before reconnecting PV. If problems persist, consult a certified RV technician rather than guessing.
Frequently asked questions
What is an MPPT charge controller?
An MPPT (Maximum Power Point Tracking) charge controller is a DC-DC converter that sits between your solar panels and batteries. It continuously finds the panel array's maximum power point and converts excess voltage into extra charging current, harvesting 15 to 30 percent more energy than a PWM controller from the same panels, per manufacturer-published figures. It is the right choice for most RV systems over about 200W.
What size MPPT charge controller do I need for 400W of solar on 12V?
Divide array watts by battery voltage and add a 25 percent safety margin: 400W / 12V = 33.3A, times 1.25 = 41.7A, so a 40A or 50A MPPT controller. Then check that your panel string's open-circuit voltage times 1.15 (cold-weather factor) stays under the controller's max PV voltage, typically 100V.
How many watts can a Victron 50 amp MPPT controller handle?
It depends on the exact model, not just the amp rating. The Victron SmartSolar MPPT 100/50 is rated for 700W of panels on a 12V battery bank and 1400W on 24V, with a 100V maximum PV open-circuit voltage. Always check the nominal PV power rating on your specific model's datasheet, since a different 50A controller may rate differently.
Is MPPT or PWM better for an RV?
MPPT is better for most RVs: systems over about 150 to 200W, lithium batteries, cold climates, and any setup where panel voltage is well above battery voltage. PWM still makes sense for small budget systems under about 150W with voltage-matched 12V panels, such as a single-panel battery maintainer.
Can I use series or parallel panels with an MPPT controller?
Yes, both work with MPPT as long as you respect two limits: the string's open-circuit voltage (times 1.15 for cold weather) must stay under the controller's maximum PV voltage, and the array voltage must stay within the controller's MPPT tracking range (for example, battery voltage plus 2V up to 72V on some 40A models). Series suits unshaded RV roofs; parallel suits partial shade.
Do I need to disconnect my solar panels to clean them?
No. For normal washing with water and mild soap you do not need to disconnect anything. Go Power! states that turning off the system is only required if you disconnect wiring. Never clean a panel with damaged glass, a damaged backsheet, or exposed wiring.
Will a bigger charge controller hurt my batteries?
No. MPPT controllers are current-limited: they deliver only what the batteries can accept at each charge stage and clip any excess array power rather than forcing it in. Oversizing the controller for future expansion is common practice. What you must never oversize is voltage: exceeding the controller's maximum PV open-circuit voltage can destroy it.
What order do you connect a solar charge controller?
Battery first, then solar panels last. Victron's manual is explicit: connect the battery, wait about 10 seconds for auto voltage detection, verify the voltage in the app, then connect the PV array. Connecting panels before the battery can confuse voltage detection or damage the controller. Disconnect in reverse: panels off first, battery last.
What voltage settings does a LiFePO4 battery need?
Use the controller's dedicated lithium or LiFePO4 profile. Typical values published by manufacturers such as Go Power! are 14.4V absorption and 14.0V float for a 12V LiFePO4 bank, with no temperature compensation and no equalization. Never charge LiFePO4 on a lead-acid profile with equalization enabled.
Why is my solar charge controller not charging?
Check in order: battery connected first (reversed order confuses voltage detection), blown fuse on battery or PV side, correct battery profile selected in settings, panel voltage reaching the controller (measure Voc at the PV terminals in sun), and shade on the array. If the controller is very hot, improve ventilation and check whether the array exceeds its rating. If unsure, consult a certified RV technician.