How-To Guides
RV Solar Panel Sealing & Roof Maintenance: Preventing Leaks Around Mounts (2026)
Dicor & EternaBond official guidance · Roof-material sealant table · Reseal schedule · October 2026
Every solar panel mount on your RV roof is a hole you drilled on purpose. Done right, with a proper two-layer seal, those holes stay dry for years. Done wrong, or left unmaintained, they become the slow leak that rots your roof deck. This guide covers the two-layer sealing system, which sealant your roof material needs, cable entry glands, the silicone mistake that ruins resealing, and a maintenance schedule that keeps everything dry. For the mounting hardware itself, see our RV solar mounting guide; for keeping panels clean, see our panel cleaning guide.
Affiliate disclosure: RV Solar Power Guide is reader-supported. When you buy through links on this page, we may earn a commission at no extra cost to you. Our picks come from comparing verified specs and price. We don't accept payment for placement.
The system
Two layers: butyl tape compressed under the mount foot (primary gasket) + self-leveling lap sealant over foot and screw heads (UV/weather barrier).
Inspection
Check seals twice a year (spring and fall), every 90 days for full-timers, and after hail or rough roads.
Reseal timing
Reseal by condition, not calendar. EPDM penetration sealant typically needs attention about every 12 months in full sun.
The #1 mistake
Hardware-store silicone. Nothing sticks to cured silicone, not even EternaBond, so it permanently blocks proper resealing.
RV solar panel sealing & roof maintenance
Roof safety: work with a spotter on the ladder, wear soft-soled shoes, and do not walk on unsupported membrane spans or wet sealant. If heights are not your thing, a mobile RV tech does this job affordably.
Why solar mounts leak
A solar mount is a bracket screwed through your roof membrane into the deck or framing. Water does not need much of an opening: it follows screw threads downward by capillary action, and once inside it travels along the deck before dripping somewhere far from the actual leak. That is why a stain on the ceiling rarely sits directly under the guilty mount.
Three forces attack the seal over time. Road flex: every mile vibrates and flexes the roof, working screws microscopically loose. Thermal cycling: the dark roof swings from freezing nights to 150°F afternoons, expanding and contracting sealant until it cracks. UV: sunlight chalks and embrittles cheap caulks. The two-layer system below is designed to survive all three, but no seal is maintenance-free.
The two-layer sealing system
The practitioner consensus, echoed in Dicor's own retrofit guide, is a two-layer system:
- Layer 1: butyl tape under the foot. A strip of butyl (putty) tape goes under the bracket foot before it is screwed down. Tightening the screws compresses the tape into a gasket that fills every gap. Dicor's EPDM retrofit guide states that butyl tape must go under all roof accessories, and that only butyl tape assures a proper seal on EPDM membrane.
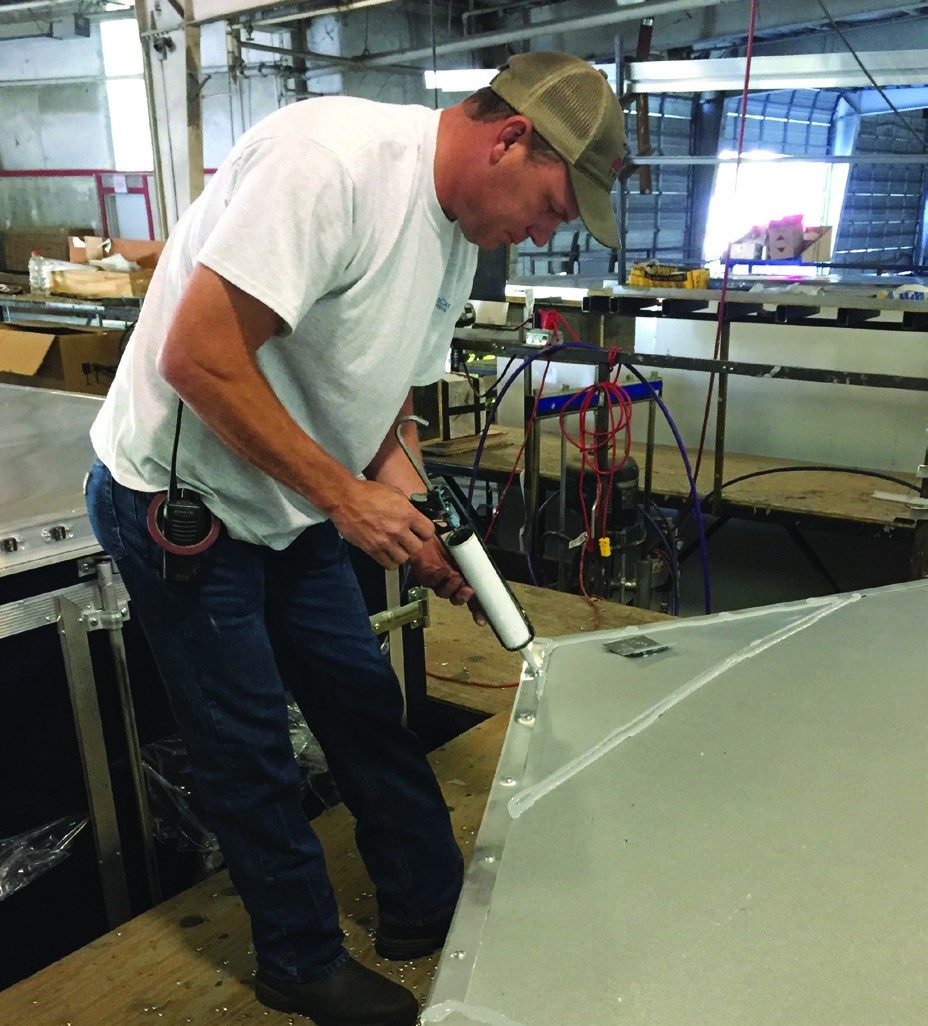
- Layer 2: lap sealant over the foot. Self-leveling lap sealant flows over the foot, the screw heads, and onto the membrane, forming the UV and weather barrier. Dicor specifies a 1/4 to 3/8 inch bead for this application.
Why two layers instead of one? If the top sealant ever cracks, the compressed butyl gasket underneath still blocks water. If the butyl shifts with age, the lap sealant cap still sheds water. Redundancy is the point: a single layer has no backup.
Choosing sealant by roof material
RV roofs come in four materials, and sealant compatibility matters. Using the wrong product is how seals fail in year one.
- EPDM rubber: Dicor 501LSW self-leveling lap sealant. It is EPDM-compatible, UV stabilized, and will not stain the membrane. Petroleum-based solvents and silicone do not belong on EPDM.
- TPO: Dicor 501LSW also works; Dicor's 610 Ultra is the purpose-built TPO option. Same two-layer method.
- Fiberglass: Dicor 610 Ultra or Geocel ProFlex. Fiberglass is also the roof type where no-drill 3M VHB tape mounting is most popular.
- Aluminum: Dicor 610 Ultra. Butyl tape under feet, non-sag sealant for any vertical trim work.
One rule crosses all materials: self-leveling sealant is for horizontal surfaces only. On vertical surfaces it will run; use Dicor's non-sag 551 there instead.
Sealing mount feet, step by step
- Prep the surface. Dicor's directions: clean off all dirt, loose paint, rust, oil, and grease, then let the surface dry completely. A final wipe with denatured alcohol removes residue. Never use petroleum solvents on EPDM.
- Lay butyl tape. Cut a strip of butyl tape to the foot's footprint and press it onto the clean membrane where the foot will sit. Some RV techs also run a thin bead of lap sealant under the foot for belt and suspenders; either way, the foot must sit on butyl.
- Set the foot and drive screws. Use stainless steel screws (#10 or #12, about 1 to 1.25 inches) into framing or solid deck. Snug them evenly so the butyl compresses without squeezing completely out.
- Cap with lap sealant. Lay a 1/4 to 3/8 inch bead of self-leveling sealant over the entire foot, covering every screw head and lapping onto the membrane around it. Self-leveling product will flow into a smooth dome on its own.
- Cure before weather. Per Dicor's official cure times at 50 to 70°F: skins over in 5 minutes, waterproof in 4 hours, 80 percent cured in 48 hours, fully cured in 30 days. Apply on a dry day with at least 4 rain-free hours ahead, and never below 50°F.
Sealing the cable entry gland
The cable entry gland, where panel wires pass through the roof, is the leak people forget. It deserves the same two-layer treatment as a mount foot, with extras:
- Butyl under the gland base, then screw it down and seal the perimeter and every screw head with lap sealant.
- Compression fittings around each cable where it enters the gland, snugged to grip without crushing insulation.
- A drip loop: route the cable so it dips below the gland before rising into it. Water running down the cable drips off the loop instead of tracking into the fitting.
- Test before final seal. Verify the system charges before you bury the gland in sealant; reopening a sealed gland to fix wiring is miserable.
EternaBond tape: the long-life alternative
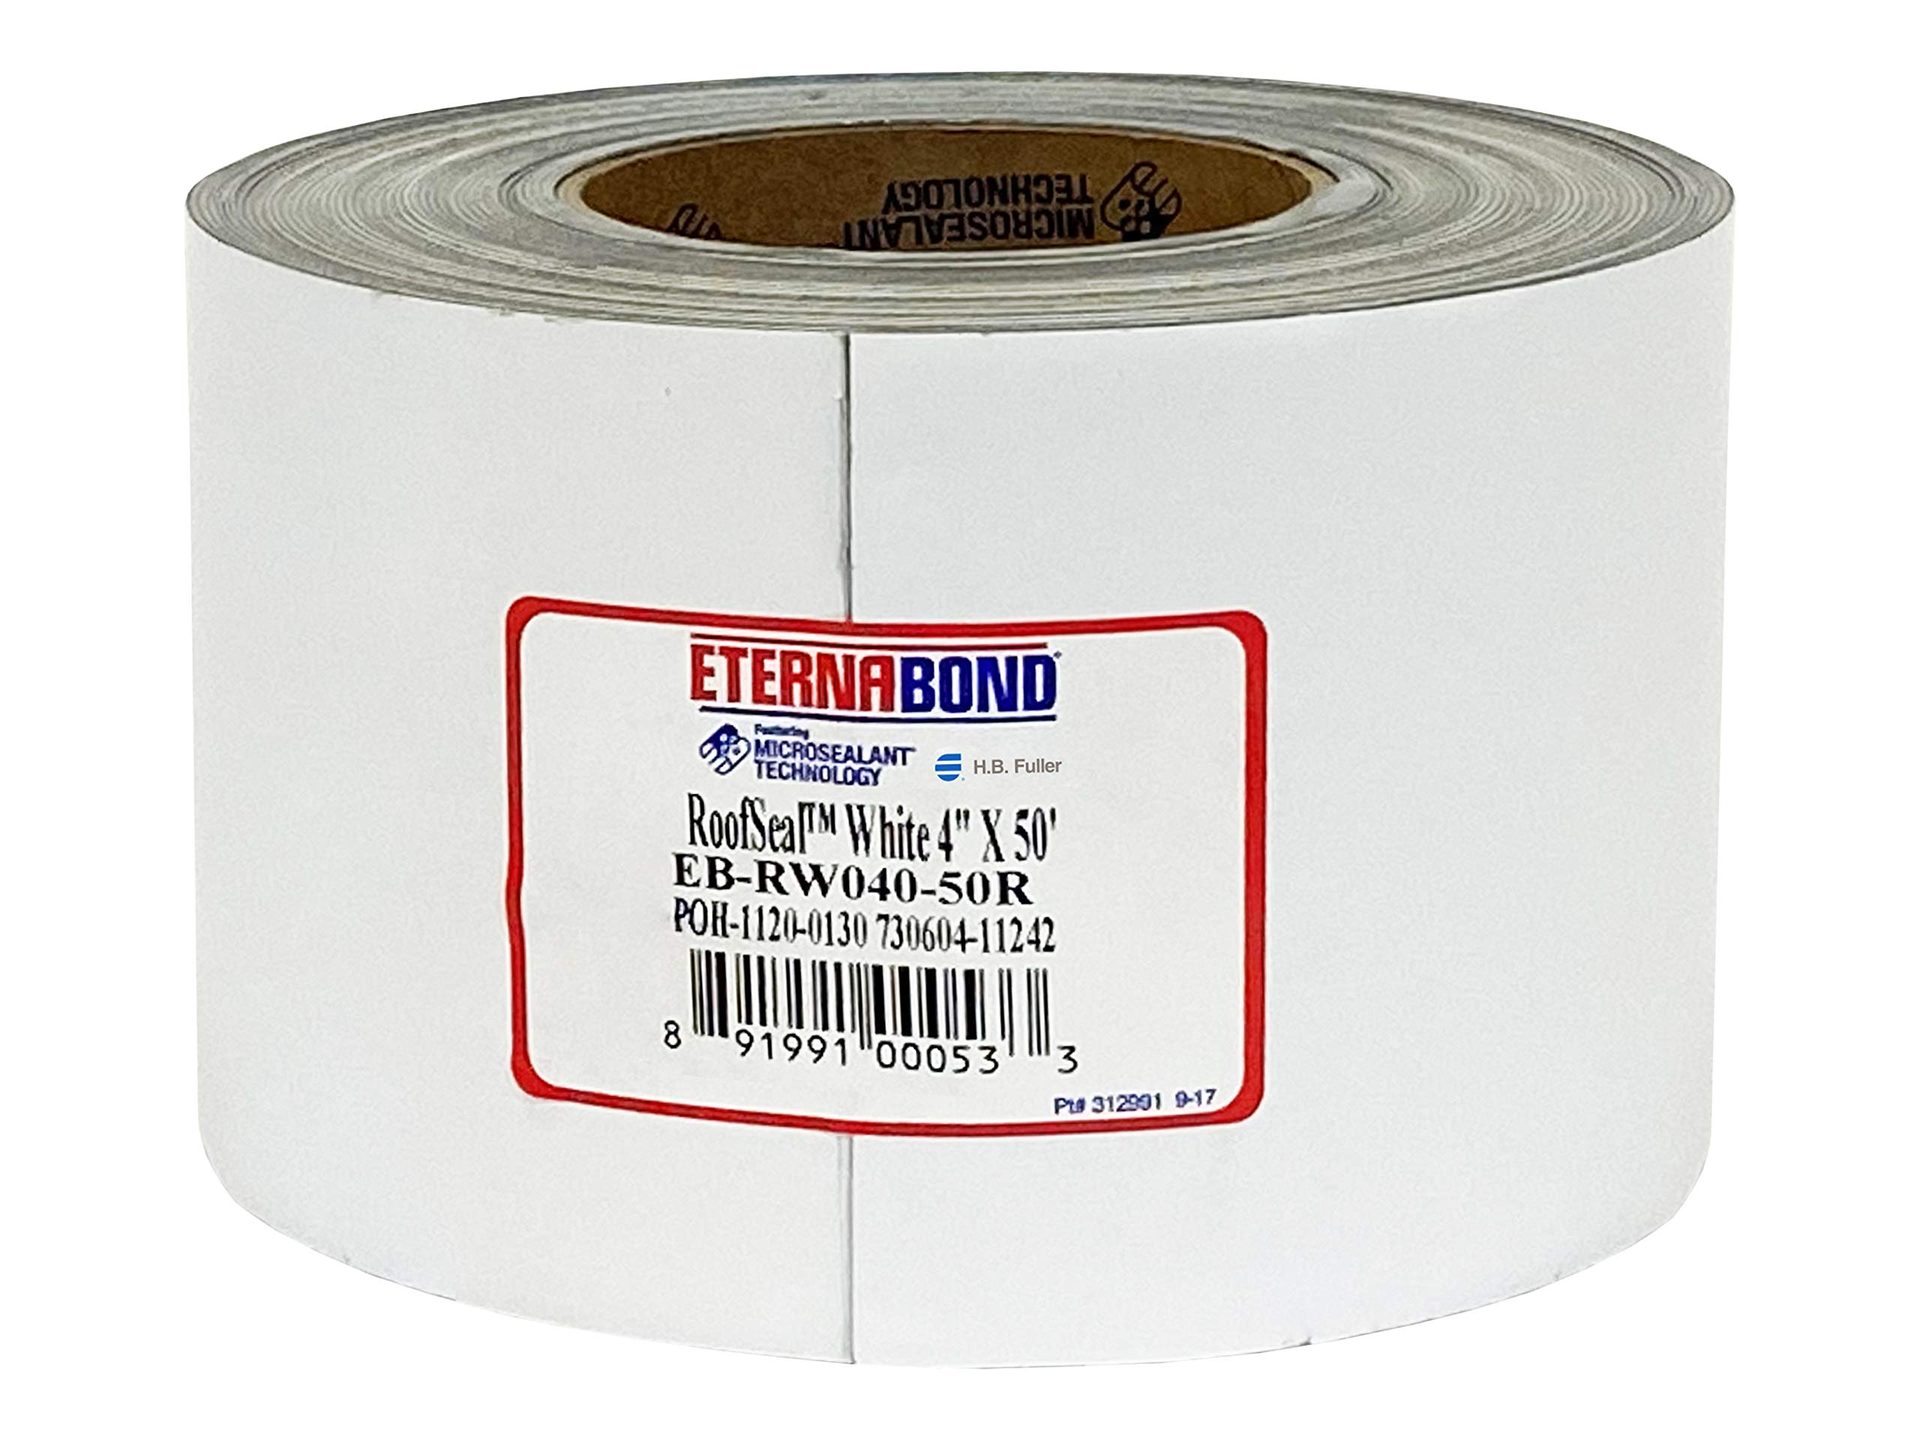
EternaBond RoofSeal tape is a pressure-activated MicroSealant tape that many RVers use instead of, or over, lap sealant around mounts. The 4 inch width suits solar mount feet; 6 inch suits long seams.
- Prep: surface clean and fully dry. EternaBond's instructions recommend EternaClean, lacquer thinner, acetone, or denatured alcohol.
- Pressure activates the bond. Roll it hard with a steel roofer's roller; firmer pressure means faster, stronger bonding. Round the tape corners so edges cannot lift.
- Overlap seams at least 1 inch where tape pieces meet.
- Cold weather: keep the tape at room temperature before applying, and use EternaPrime primer below 40°F.
- Over old sealant: fine once the sealant has cured at least 60 days. Over silicone: never. EternaBond's instructions state plainly that it does not stick to silicone.
EternaBond over a properly sealed mount foot is legitimate belt-and-suspenders protection, but it is not a substitute for the butyl gasket underneath.
The silicone trap
The single worst thing you can put on an RV roof is hardware-store silicone caulk. It looks like a quick fix, and that is the trap: nothing adheres to cured silicone afterward. Not lap sealant, not EternaBond, not even fresh silicone reliably. One tube of silicone on a mount foot permanently blocks every proper repair method at that spot.
The only remediation is complete mechanical removal: every trace of silicone must come off before a real sealant can bond, which on a textured membrane is hours of scraping. If a previous owner siliconed your mounts, budget the removal time before resealing, and never add more silicone on top.
Inspection routine: what to look for
Inspect every seal on the roof at least twice a year: once in spring before travel season, once in fall before winter. Full-timers and high-mileage rigs should check every 90 days, plus after hail, high winds, or rough roads. Use a plastic scraper, never metal, to probe sealant on EPDM or TPO.
- Cracked or dried beads around feet and glands
- Lifting edges where sealant meets membrane
- Chalking or discoloration signaling UV breakdown
- Soft or spongy deck under a mount (water already inside)
- Rusted screw heads poking through sealant
- Musty smell or stains inside, near or downhill of mounts
Resealing schedule
Reseal by condition, not by calendar. As a planning baseline: EPDM penetration sealant in full sun typically needs attention about every 12 months; covered or indoor storage roughly doubles sealant life. TPO and fiberglass are a little more forgiving, but the inspection cadence stays the same.
How much sealant to buy: one 10.3oz tube lays about 25 feet of 1/4 inch bead, and the working rule is roughly one tube per roof fixture. For a 4-panel array with 16 mount feet plus a cable gland, plan 2 to 3 tubes, plus one spare for touch-ups. For a full reseal of every roof penetration on a mid-size trailer, 4 to 6 tubes is typical.
Resealing over old sealant: Dicor over old Dicor is fine if the old layer is still bonded and clean; overlap the new bead about half an inch onto the old. Strip and redo only sealant that is lifting, cracked through to the roof, or contaminated.
Winter prep for seals
Freeze-thaw cycling is what cracks lap sealant: water works into a hairline crack, freezes, expands, and wedges it wider. Do your fall inspection before the first freeze and touch up every suspect bead. Do not apply new sealant below 50°F; it will not cure properly.
If the RV sits under snow, brush heavy accumulation off around the mounts rather than letting it melt and refreeze against the seals. Spring inspection then catches whatever winter opened up.
Leak found: what to do
Trace it uphill. Water travels along the deck, so the drip inside is usually downhill of the actual entry point. Work from the stain toward the nearest uphill mount or gland.
Repair properly. Remove the failed sealant, dry the area completely, and reapply the two-layer system: butyl tape under the foot, self-leveling lap sealant over. Do not just glob more sealant over a failed, lifting layer.
Know when to call a pro. Soft or spongy decking under a mount, visible delamination, or a leak that returns after a proper reseal means water has been inside a while. A professional reseal and deck repair costs far less than the rot it prevents.
Frequently asked questions
How often should I reseal around RV solar panel mounts?
Inspect seals at least twice a year (spring and fall), and every 90 days if you full-time or drive high mileage. Reseal by condition, not calendar: EPDM penetration sealant typically needs attention about every 12 months in full sun, while covered storage roughly doubles sealant life. Reseal any bead that is cracked, lifting, or chalking.
Can I use silicone caulk on my RV roof?
No. Hardware-store silicone is the number one RV roof sealing mistake. Nothing sticks to cured silicone afterward, not even lap sealant or EternaBond tape, so a silicone repair permanently blocks proper resealing. Use self-leveling lap sealant (such as Dicor 501LSW) on EPDM/TPO roofs instead.
Can I put Dicor over old Dicor lap sealant?
Yes, if the old layer is still bonded to the roof and reasonably clean. Clean the surface, let it dry, and lay a new bead overlapping the old by about half an inch. Remove old sealant completely only if it is lifting, cracked through to the roof, or contaminated with silicone.
How much Dicor lap sealant do I need for 4 solar panels?
One 10.3oz tube lays about 25 feet of 1/4-inch bead. A 4-panel array typically has 16 mount feet plus a cable entry gland, and the rule of thumb is roughly one tube per roof fixture. Plan on 2 to 3 tubes for sealing 4 panels' mounts and the cable gland, plus a spare for touch-ups.
Will EternaBond tape stick to my EPDM rubber roof?
Yes. EternaBond's official instructions list EPDM, TPO, fiberglass, and metal as bondable surfaces. The surface must be clean and fully dry, you must press it firmly with a steel roller to activate the bond, and it will not stick over silicone residue or in temperatures below about 40F without primer.
Do I need to seal solar panel mounts if I used VHB tape with no screws?
There are no screw holes to seal with a no-drill VHB installation, but the bracket feet still deserve weatherproofing. Water and UV attack the tape edges over time, so a perimeter bead of compatible lap sealant around each foot keeps water from working under the bracket and extends the bond's life.
How long does Dicor take to cure before rain?
Per Dicor's official directions at 50 to 70F: the surface skins over in 5 minutes, it is waterproof in 4 hours, 80 percent cured in 48 hours, and fully cured in 30 days. Apply on a dry day with at least 4 rain-free hours ahead, and do not apply below 50F.
What is the black stuff under my solar panel mount feet?
That is butyl tape (also called putty tape). It is the compressed gasket layer that goes under the bracket foot before screwing it down, forming the primary waterproof seal. The visible lap sealant over the top is the secondary UV and weather barrier. Both layers together make the two-layer sealing system.
Should I seal the solar wire clips on my RV roof too?
Adhesive-backed UV wire clips need no sealant, but screw-down clips are mini penetrations and deserve a dab of lap sealant over each screw head. More importantly, keep wires slightly slack for thermal expansion and routed so they cannot rub the membrane, since vibration abrasion can wear through EPDM or TPO.
What should I do if I find a leak around a solar mount?
Trace the stain uphill, since water travels along the roof deck before dripping inside. Remove the failed sealant, dry the area completely, and reapply the two-layer system: butyl tape under the foot, self-leveling lap sealant over. If the roof deck feels soft or spongy, or you see delamination, call a professional before it spreads.